Tuckpointing and Repointing in Murfreesboro, TN
Mortar is the part of a brick wall designed to wear out. It takes the freeze, the movement and the water so the brick does not, and after enough winters it gives up. Repointing puts fresh mortar back in the joints. Doing it with the wrong mix does more harm than leaving it alone.
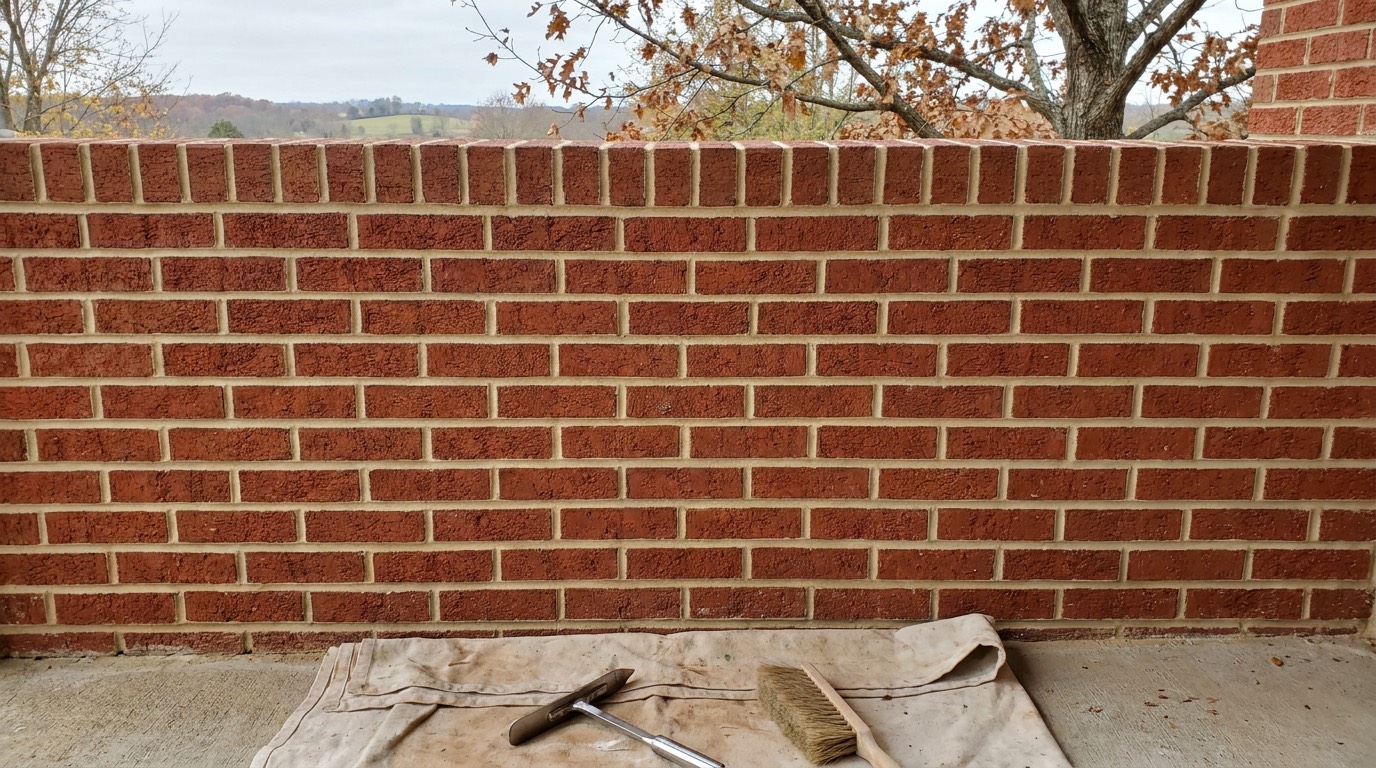
Request a quote
Four questions, about a minute. We'll call you back.
How to tell your joints are finished
Take a key or a flathead screwdriver and drag it along a mortar joint on the weather side of the house. Sound mortar resists it and you get a scratch. Failed mortar gives way, and sand runs out of the joint onto your shoe. If you can push the tip in a quarter of an inch without leaning on it, that joint is not holding anything anymore.
The other signals are visible from the driveway. Joints recessed well behind the face of the brick. Hairline gaps between mortar and brick where the bond has broken. Sand piling on the sill or at the base of the wall. Moss or small plants rooted in a joint, which only happens where water sits. On a chimney the mortar usually fails above the roof line first, because that section takes weather from every direction.
- Joints eroded back behind the brick face
- Sand collecting on sills, ledges or the ground below
- Mortar that crumbles under a screwdriver point
- Cracks running through joints in a stair step pattern
- Damp interior walls or a chimney breast that smells musty
Tuckpointing, repointing and what people actually mean
Strictly speaking, tuckpointing is an old decorative technique where a contrasting fillet is set into a colored mortar to fake fine joints. Repointing is the repair, meaning the old mortar comes out and new mortar goes in. In American usage the two words got tangled up decades ago, and most people calling about tuckpointing want repointing.
We use them interchangeably on the phone because arguing about vocabulary helps nobody. What matters is what the crew does to your wall. Ask any contractor how deep they cut the joints and what mortar they are mixing. If the answer is that they smear a coat over the surface of the existing joint, that is not repointing. It is a skim that will peel off in sheets within a few winters.
Matching the mortar is the entire job
Mortar has to be softer than the brick beside it. That is the rule everything else hangs off. Mortar is sacrificial. It is supposed to crush, crack and wear so that movement and salt and ice go into the joint rather than into the brick face. Put a hard, cement rich mortar next to soft brick and you have reversed the relationship. The joint wins, the brick loses, and faces start popping off.
This matters enormously on the older brick around the Murfreesboro square, on farmhouses out toward Christiana and Woodbury, and on the pre war rentals near MTSU. Nineteenth century brick was fired at lower temperatures and bedded in soft lime mortar. Modern bagged mortar is far harder than what those walls were built with. The National Park Service Preservation Brief 2 covers repointing historic masonry and makes the same point. ASTM C270 covers the modern mortar types, and picking one is a judgment about the wall in front of you.
- The existing mortar assessed for hardness, sand color and grain size
- A softer mix specified for soft, older, low fired brick
- Sand matched by color and grade, because sand is most of what you see
- Pigment used only where the original mortar was genuinely colored
- A test panel laid in an inconspicuous spot and viewed dry
- No bagged high strength mortar on pre war brick, ever
Cutting the old joints out without wrecking the brick
Depth is the first thing that separates a real repointing job from a cosmetic one. The joint has to be cut back to roughly two to two and a half times its width, and the back of the cut has to be square rather than tapered to a V. A shallow fill has almost no surface to bond to and it will fall out. A V shaped back wedges the new mortar outward as it cures.
How the cutting happens depends on the wall. On hard modern mortar, an angle grinder in experienced hands on the bed joints is fast and fine. On soft historic brick it is the wrong tool, because the blade wanders, the brick is softer than the blade expects, and one slip takes a nick out of a face that stays there forever. Head joints in particular get chiseled by hand. Anyone who runs a grinder through the head joints of a hundred year old wall is going to cost you brick.
- Joints cut back to a proper depth, with a square back
- Hand chisels on soft brick and on all head joints in historic work
- Grinders limited to bed joints in hard mortar, and only where safe
- Dust controlled at the source, because cutting masonry means silica
- Loose material blown or brushed out before anything is packed back in
- Damaged or spalled brick identified and replaced while the wall is open
Packing the joints and tooling the finish
New mortar goes into a joint that has been dampened, not soaked and not bone dry. Dry brick pulls the water straight out of the mix and the mortar never gains strength. Soaked brick keeps the mortar from bonding. The joint is packed in layers of about a quarter inch, and each layer is left to firm up before the next goes in. Trying to fill a deep joint in one push leaves voids behind the face, and voids collect water.
Tooling is the last step and it decides what the wall looks like for the next thirty years. The finish has to match what is already there, whether that is a concave joint, a weathered joint, a flush joint or a grapevine on something old. Timing is everything. Tool too early and the joint smears and the surface turns to paste. Tool too late and it will not compress, and an uncompressed joint lets water straight in.
- Joints dampened before the mortar goes in
- Mortar packed in layers, each allowed to set thumbprint hard
- The joint profile matched to the existing wall
- Tooling timed so the mortar compresses instead of smearing
- Fresh work kept from drying out too fast in sun or wind
Why this is a freeze-thaw problem before it is anything else
Middle Tennessee winters do the specific thing that destroys mortar. Temperatures cross the freezing point over and over between December and February rather than staying cold. Water soaks into a joint during a wet spell, freezes overnight, expands, and pushes the joint apart from the inside. The next afternoon it thaws and more water gets into the space it just made. Repeat that all winter and a joint that was solid in October is soft by March.
The same weather sets the schedule for the repair. Mortar work generally stops once the air holds below about forty degrees, because mortar that freezes before it gains strength is permanently damaged and never recovers. That gives us spring, summer and fall for repointing here. Open joints going into winter are the worst thing to leave, because every soft joint is a way in for water.
- Repointing scheduled in spring, summer or early fall where possible
- Fresh work protected from direct sun, drying wind and rain
- Water sources found first, whether gutters, caps, flashing or grade
- Chimney crowns and caps checked, since they are usually the entry point
Reading a repointing quote
Most houses do not need every joint replaced. Weather sides go first, usually the west and south elevations, and chimneys above the roof line go before anything else. A quote should tell you which elevations and roughly what share of the joints are being cut, not just give one number for the house. Ask how deep they are cutting. Ask what mortar they are mixing and why. A contractor who cannot answer the mortar question should not be on a soft brick wall.
Be careful with anyone who wants to sell you a waterproof coating instead of pointing. Sealing the face of a wall with failing joints traps moisture inside the masonry, and in a freezing climate that accelerates the damage rather than stopping it. Fix the joints, fix whatever is putting water in the wall, and then talk about whether anything else is needed. Prices swing with height, access and how much of the wall is involved, so a site visit is the only way to a real number.
- Which elevations are included, and what share of the joints
- Cutting depth stated, and whether hand tools or grinders are used
- Mortar type and how the color and sand will be matched
- Whether a sample panel is provided for approval before the main run
- Scaffold or lift costs, especially on chimneys and second stories
- Brick replacement handled separately from joint work
Tuckpointing and Repointing across our area
All areas →Questions about tuckpointing and repointing in Murfreesboro
Does the whole house need doing, or just the bad spots?
Usually just the areas that have failed, and that is normally the weather facing elevations and the chimney. Repointing a sound wall achieves nothing and costs money. What we do watch for is a patch that stops at an arbitrary line, because the joints either side of it will be next. We map the failure and quote by elevation so you can see what is included.
How long should repointing last?
Properly cut, properly packed and correctly matched, decades. The variables are exposure and water. A sheltered wall lasts far longer than a west facing chimney above the roof. If new pointing starts failing within a few years, either the mix was wrong, the joints were too shallow, or something is still soaking that section of wall. All three are worth chasing down.
Can I repoint a few joints myself with a bag from the hardware store?
On a modern brick house, a small patch is a reasonable weekend job if you cut the joints properly rather than smearing over them. On anything pre war, we would ask you not to. The standard bagged mixes are much harder than the original mortar, and on soft old brick that hardness gets paid for in spalled faces. The damage is not reversible.
Will the new mortar match the old?
It will be close, and it keeps improving as it weathers. Sand is what you are actually looking at in a joint, so we match sand color and grain before considering pigment. Fresh mortar always looks brighter for the first year or so. We lay a sample panel and let you see it dry, in daylight, before the main run starts.
Will repointing stop my wall from leaking?
Often, because open joints are the most common way water enters a brick wall. Not always. Water also comes in through a cracked chimney crown, failed flashing, a missing cap, a gutter dumping against the wall, or grade pushed up too high. We look for the source before quoting joint work, because pointing a wall that is being soaked from above just moves the problem.
Other services
All services →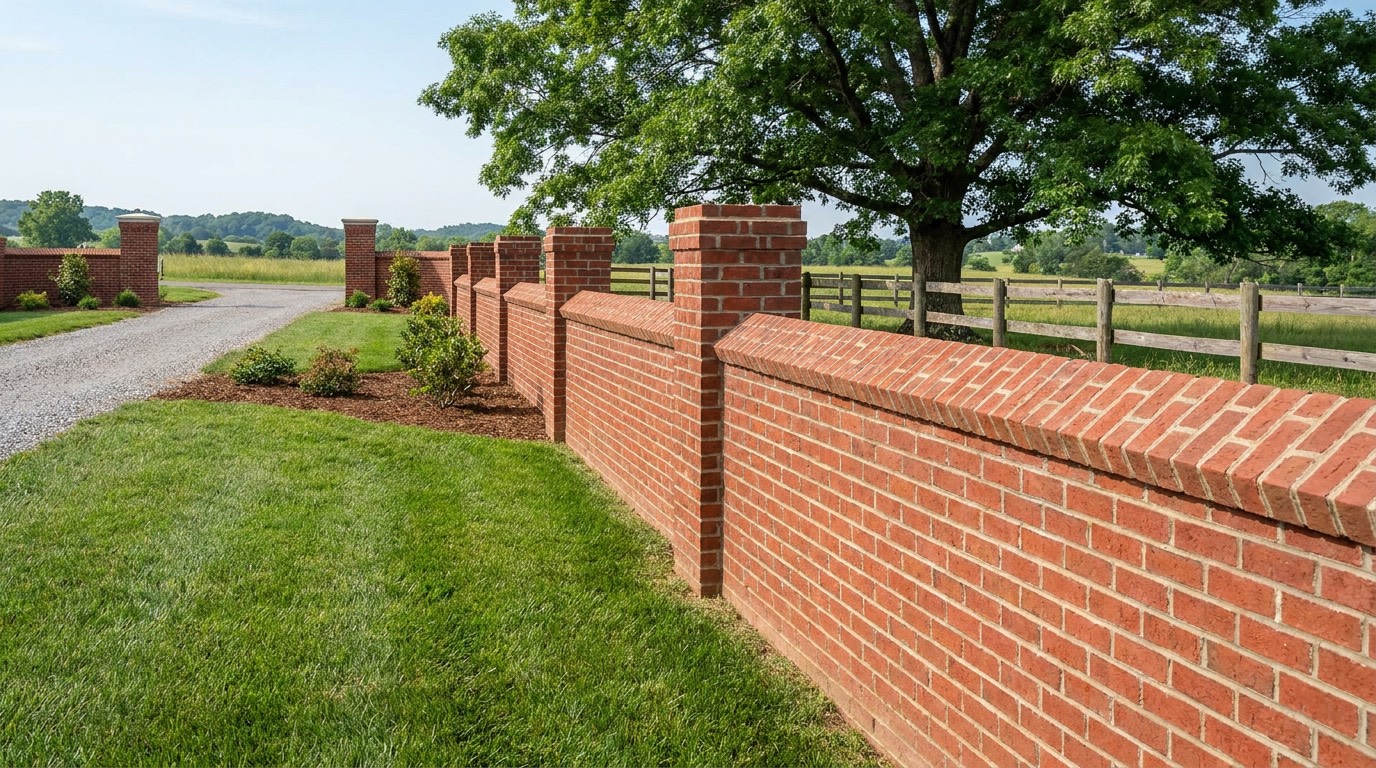
Brick Masonry
New brickwork, walls, columns and steps
Learn more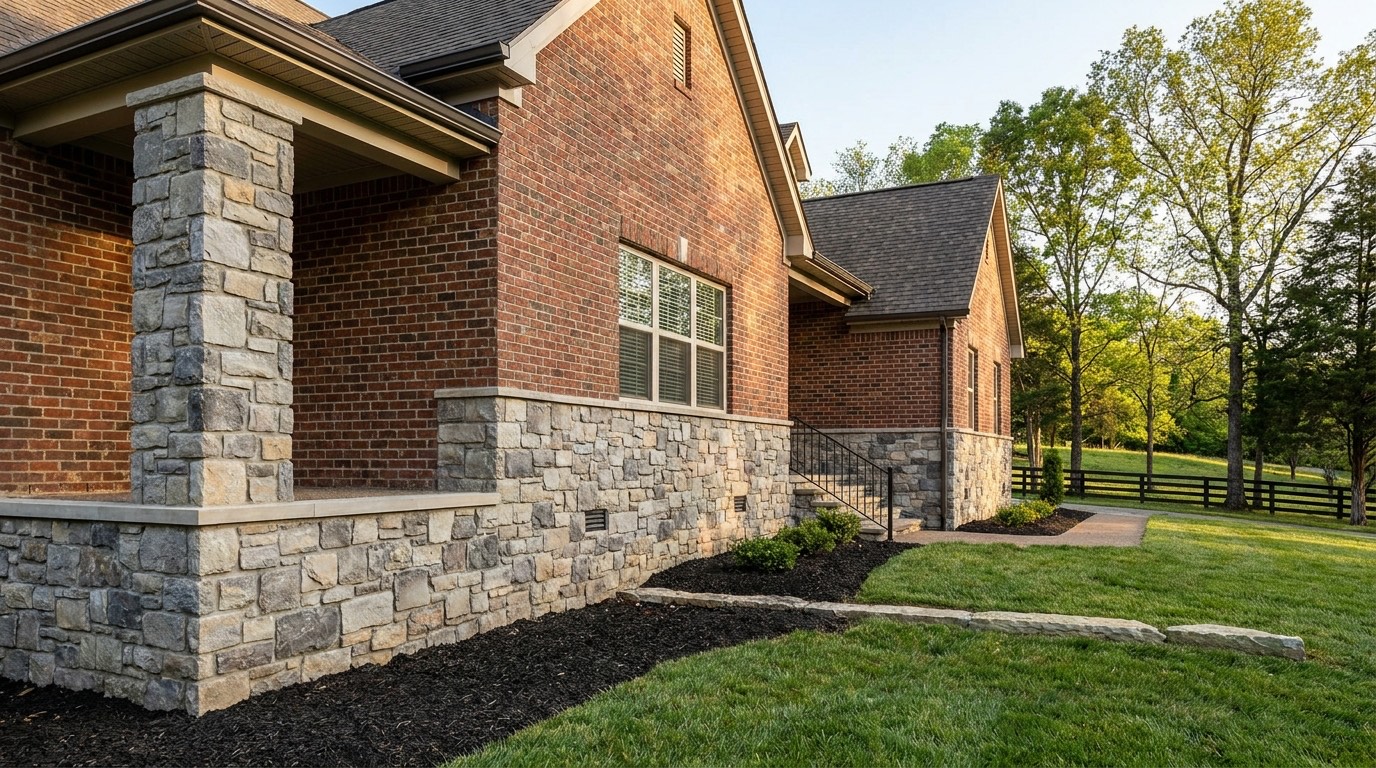
Stone Masonry
Natural and manufactured stone installation
Learn more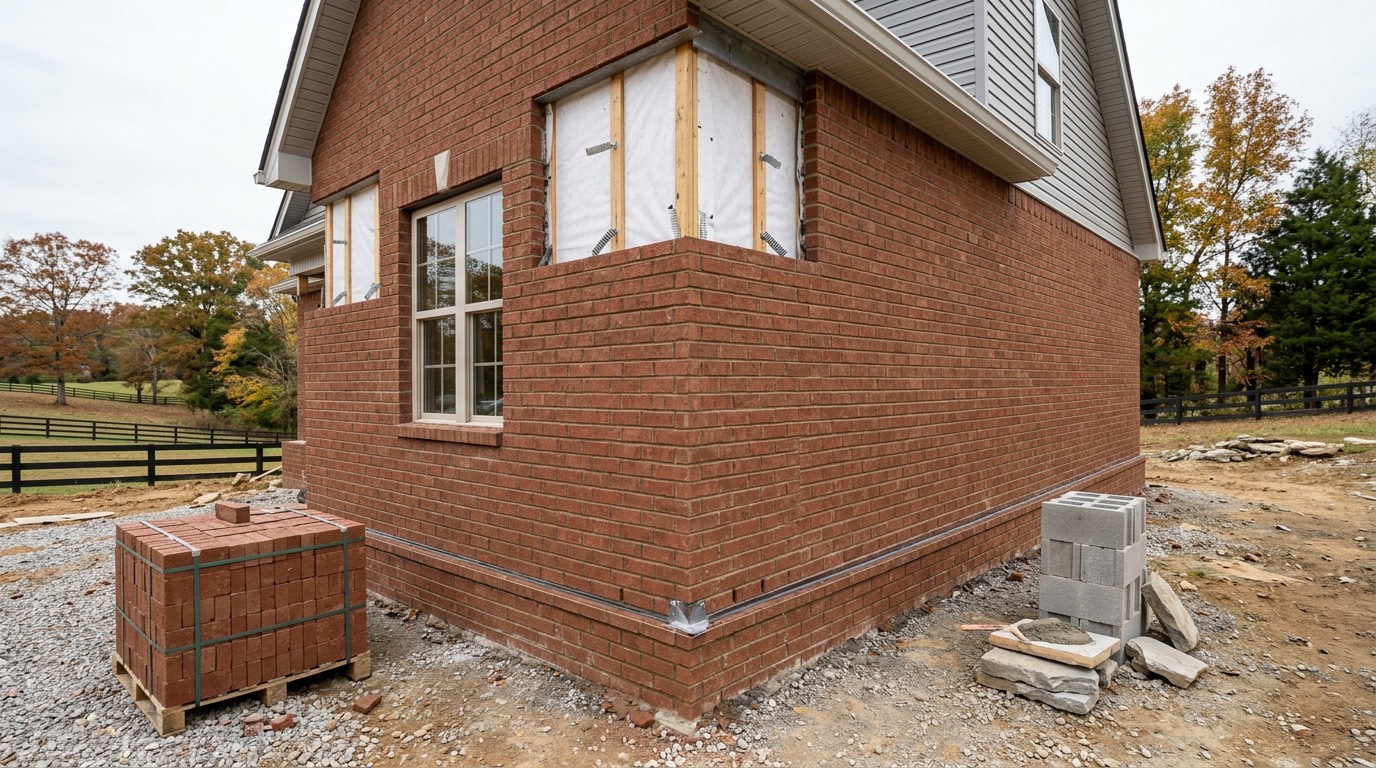
Brick Veneer Installation
Veneer over frame or block walls
Learn more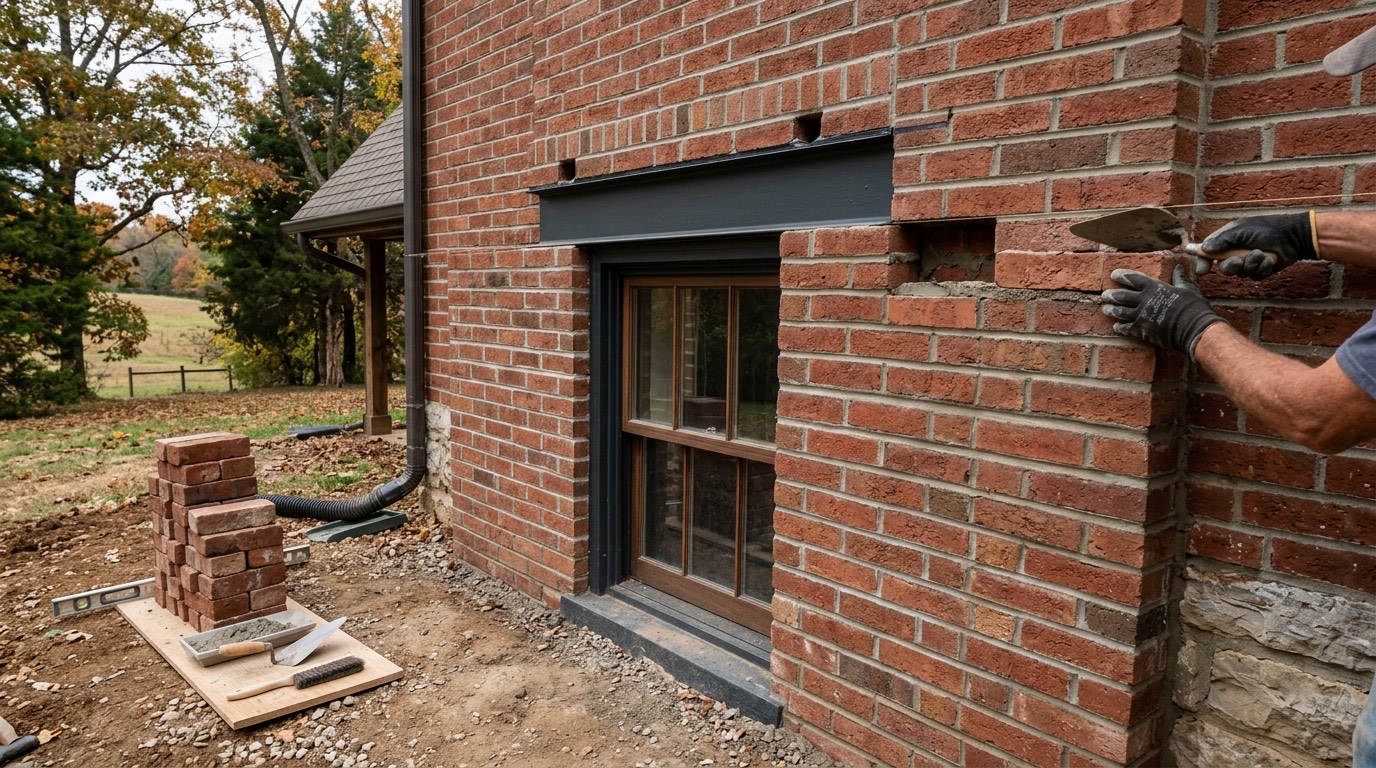
Masonry Repair and Restoration
Cracks, settlement and rebuilds
Learn more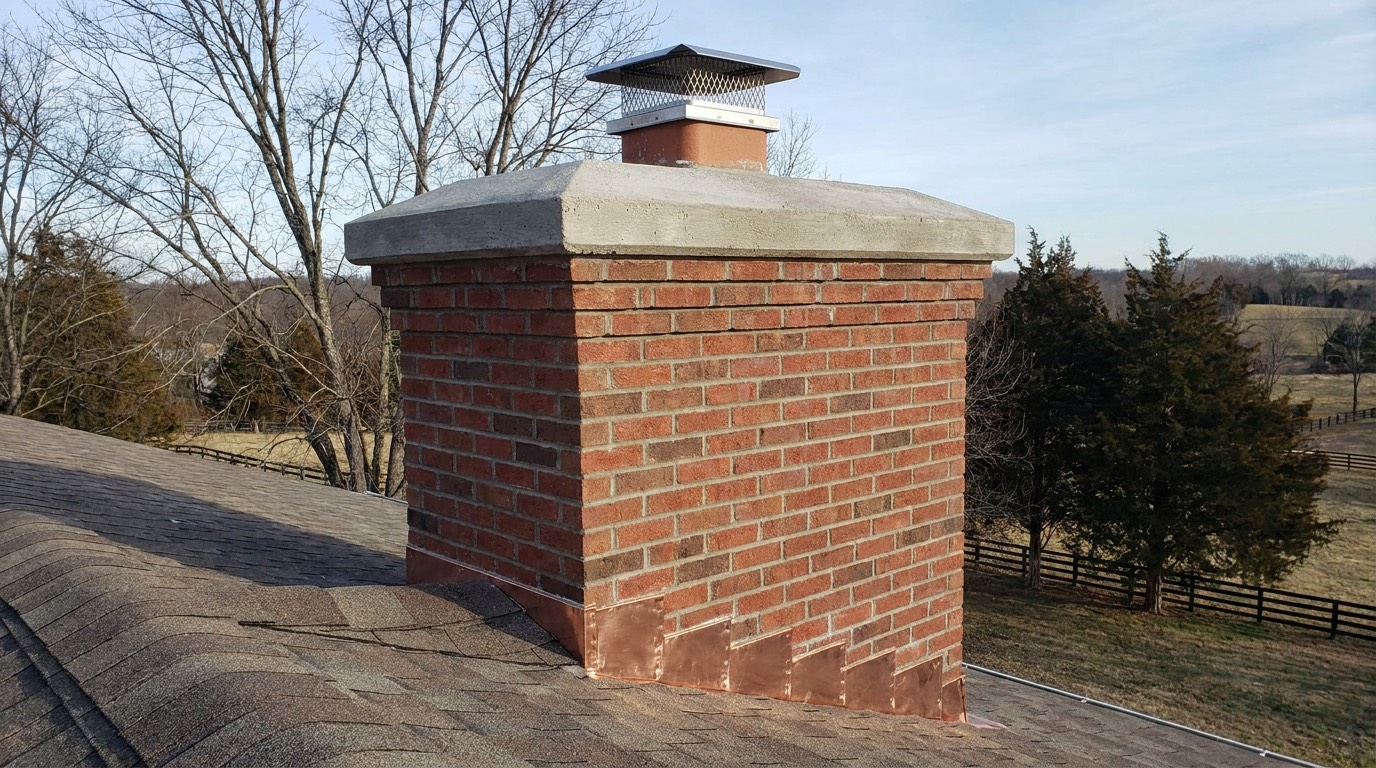
Chimney Masonry Repair
Crowns, flashing, rebuilds and relining
Learn more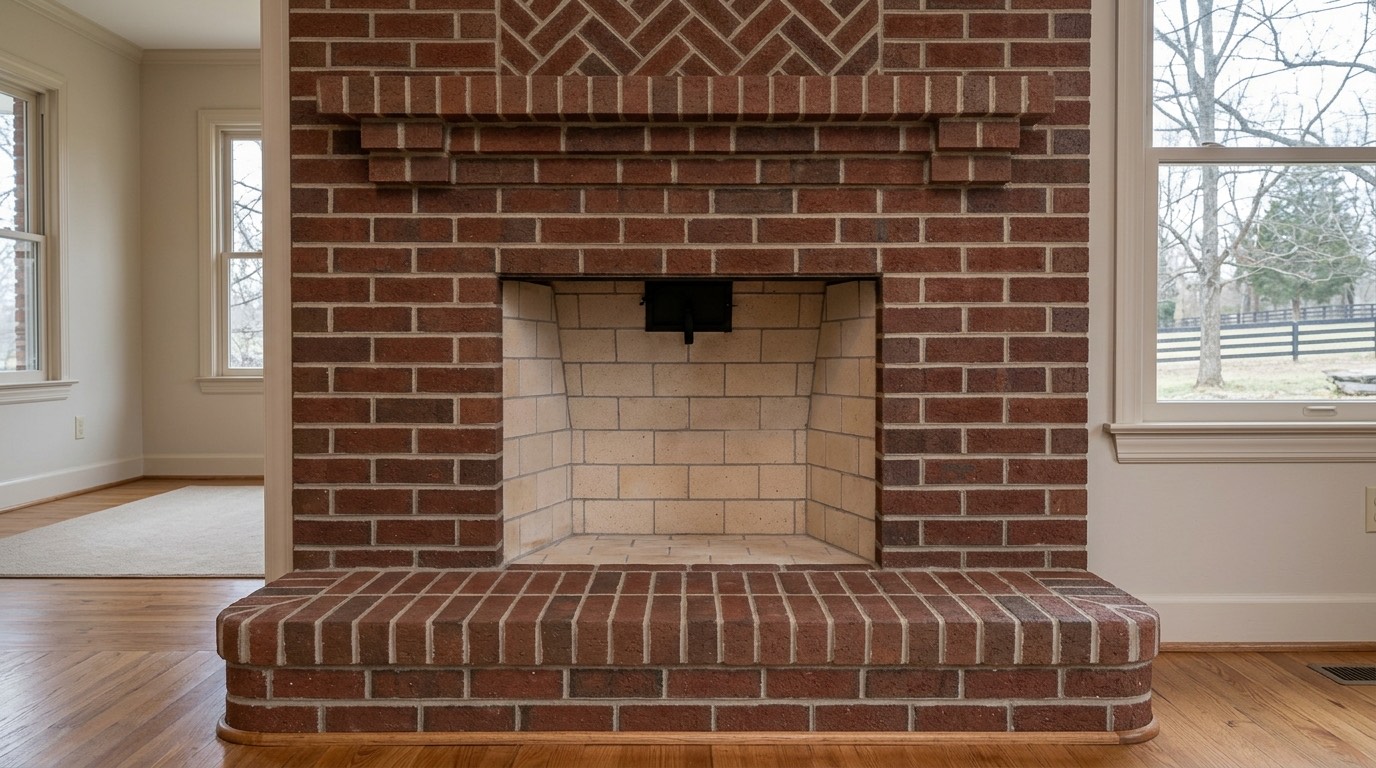
Brick Fireplaces
Indoor and outdoor fireplace masonry
Learn more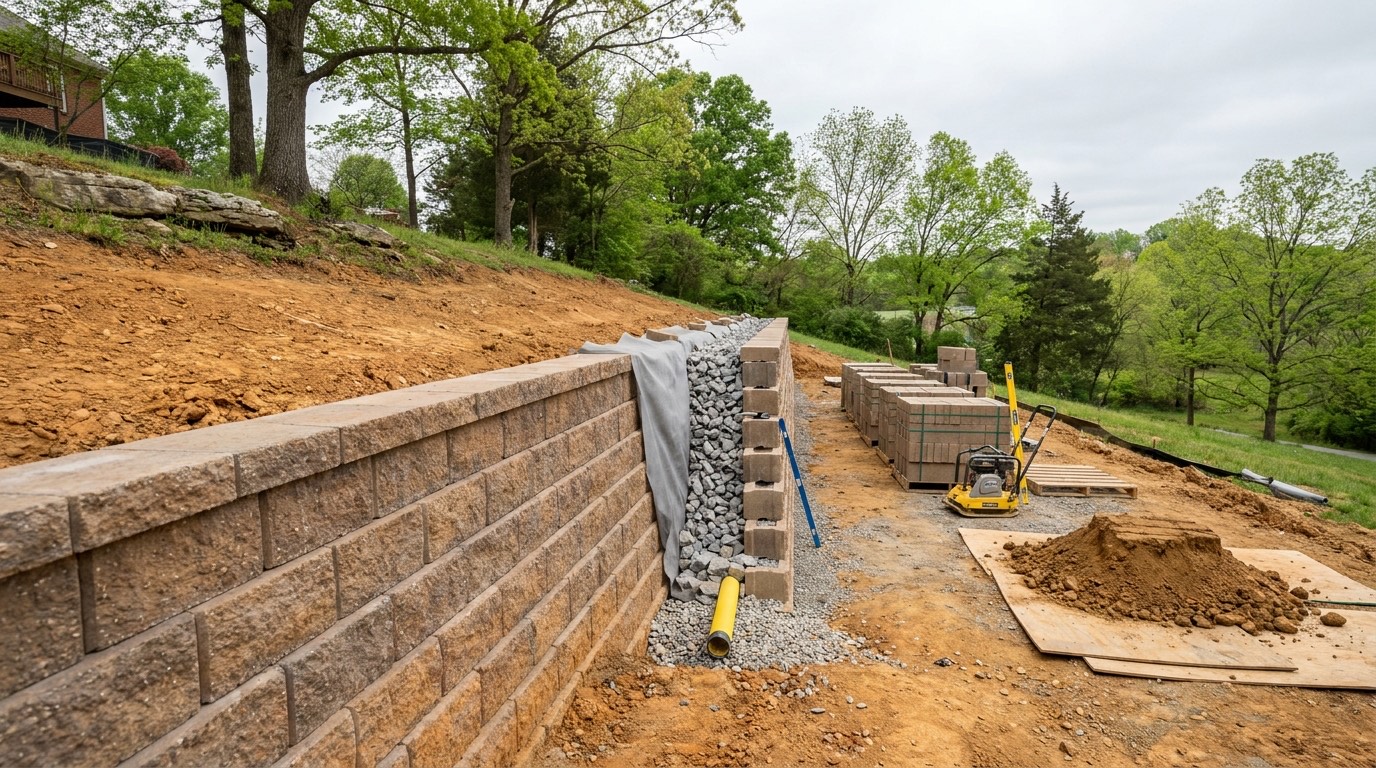
Retaining Walls
Block, brick and stone retaining walls
Learn more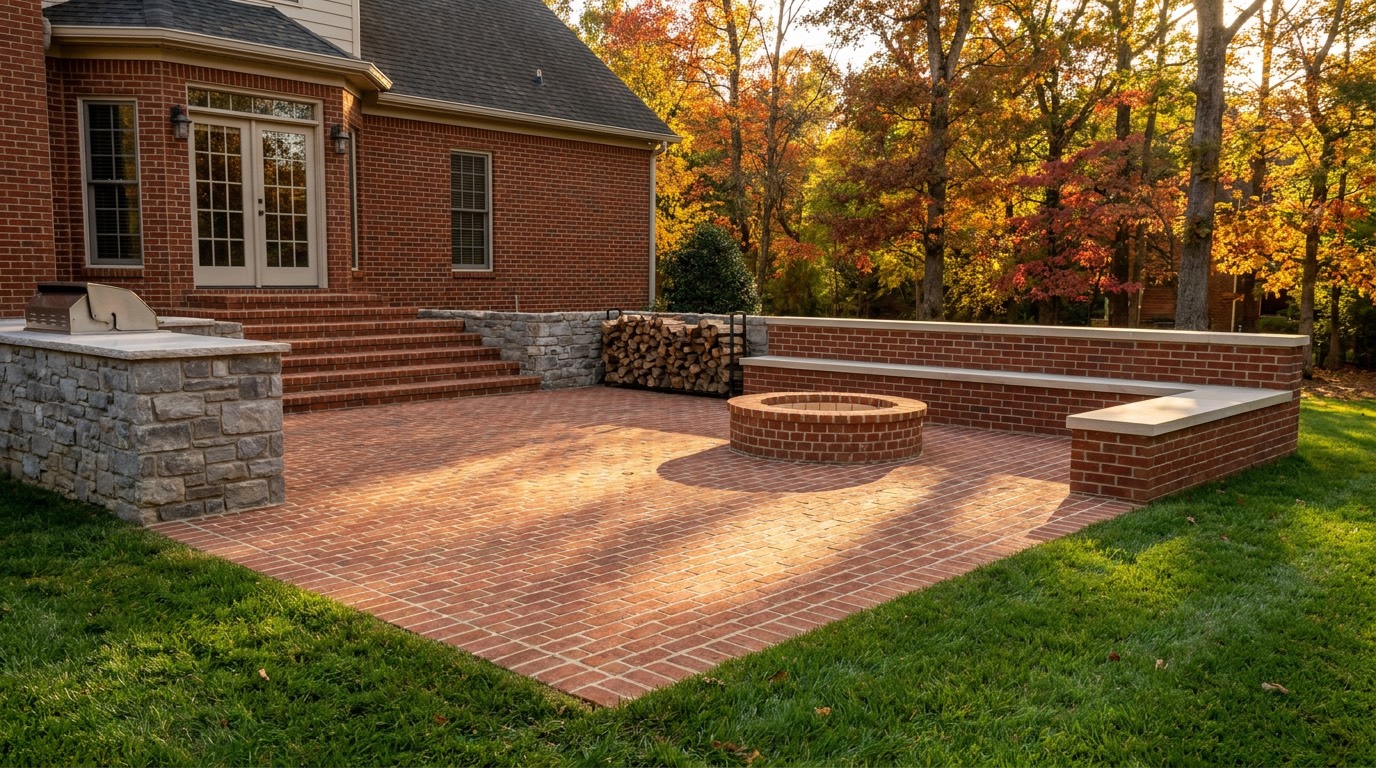
Outdoor Living Masonry
Patios, kitchens, fire pits and seat walls
Learn more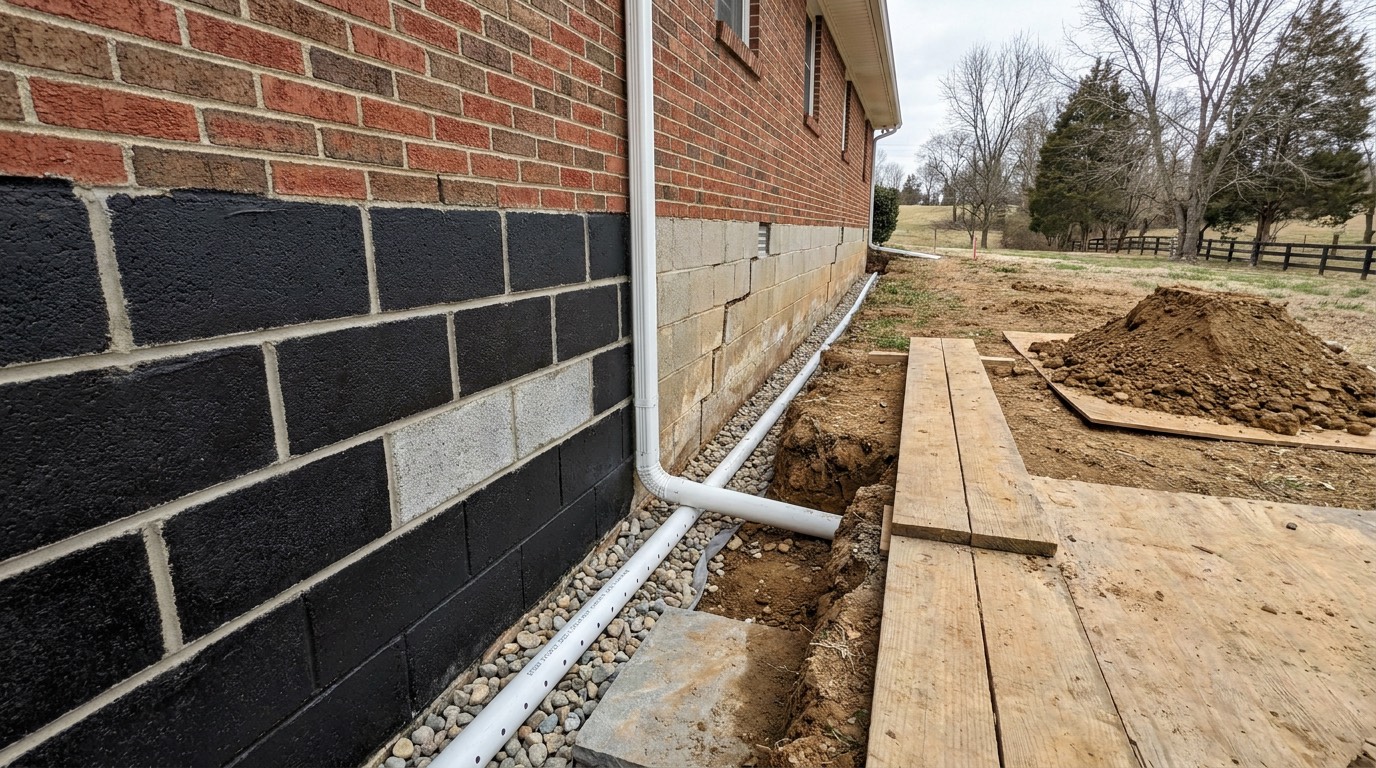
Foundation and Basement Masonry
Foundation repair and basement walls
Learn more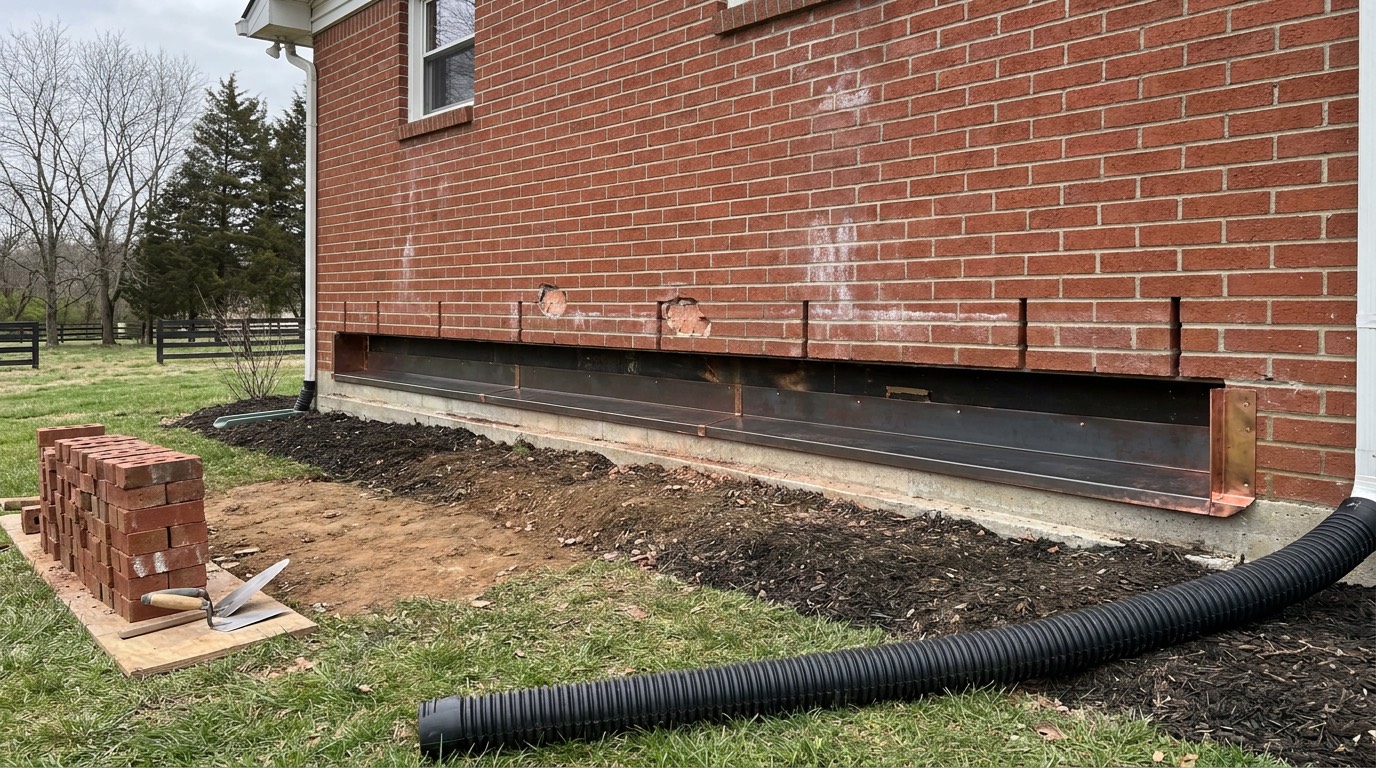
Masonry Waterproofing and Sealing
Sealers, flashing and drainage details
Learn more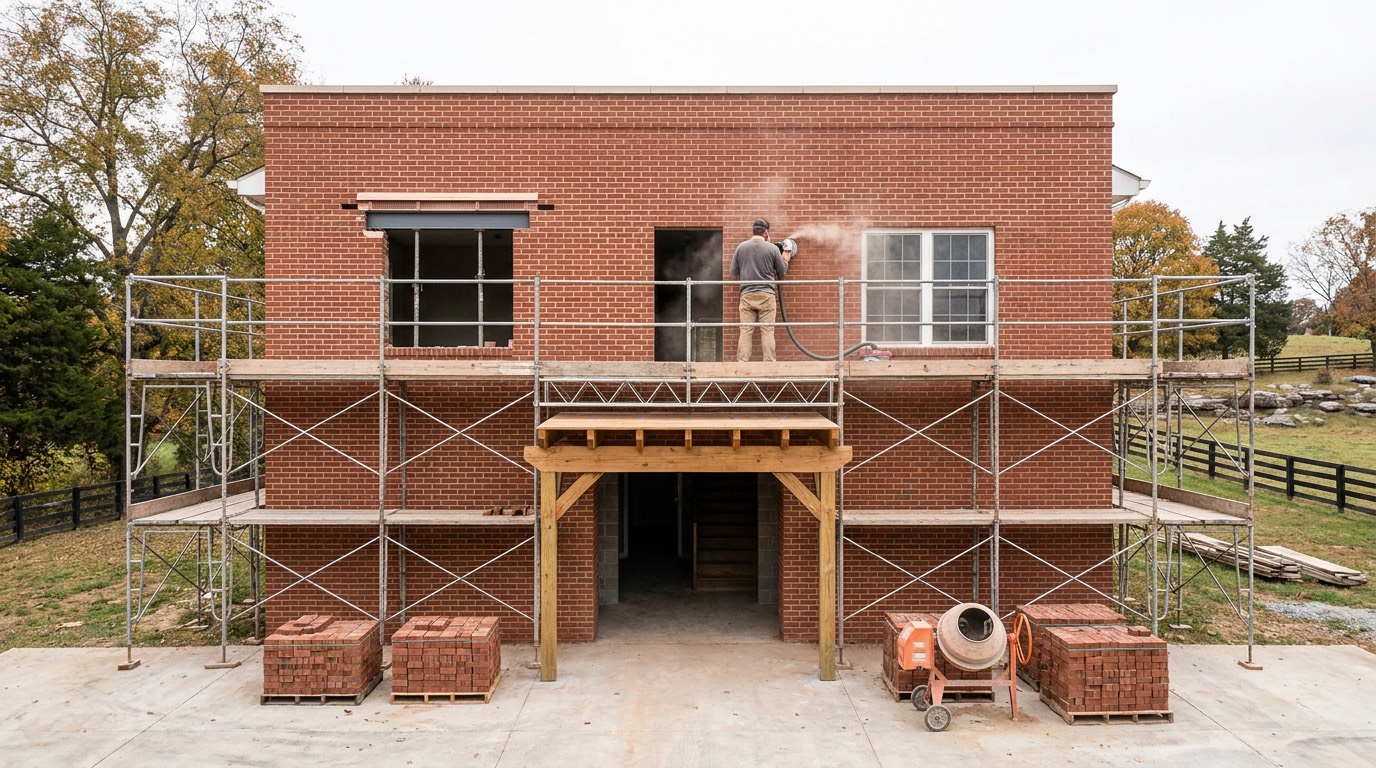
Commercial Masonry
Retail, multi-family and light commercial
Learn moreStraight answer on your wall.
Call, or send the form and we will get you a written price.